.png)
.png)
.png)
-
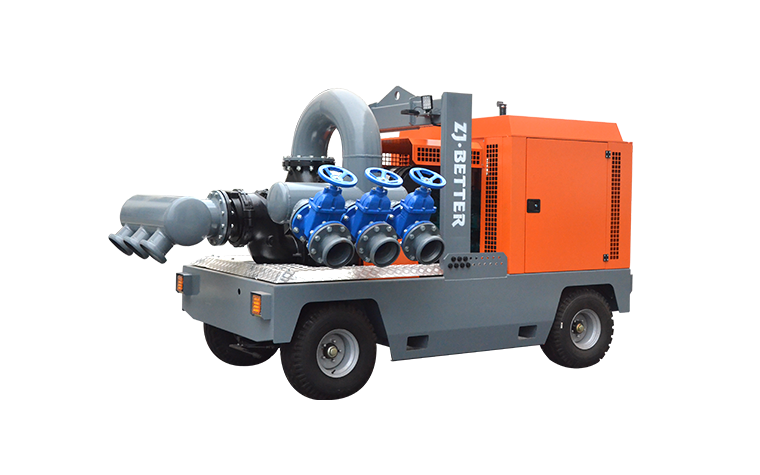
 Dec 06, 2023Fire pump energy-saving operation principleThe energy-saving operation of a fire pump involves optimizing its performance to minimize energy consumption while still ensuring effective fire protection. Here are some key principles and strategies for energy-saving operation of fire pumps:
View details -
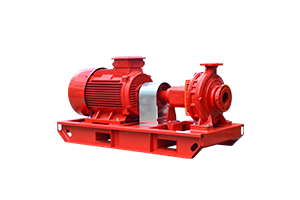
Dec 06, 2023Fire pump energy-saving operation principleThe energy-saving operation of a fire pump involves optimizing its performance to minimize energy consumption while still ensuring effective fire protection. Here are some key principles and strategies for energy-saving operation of fire pumps:
View details -
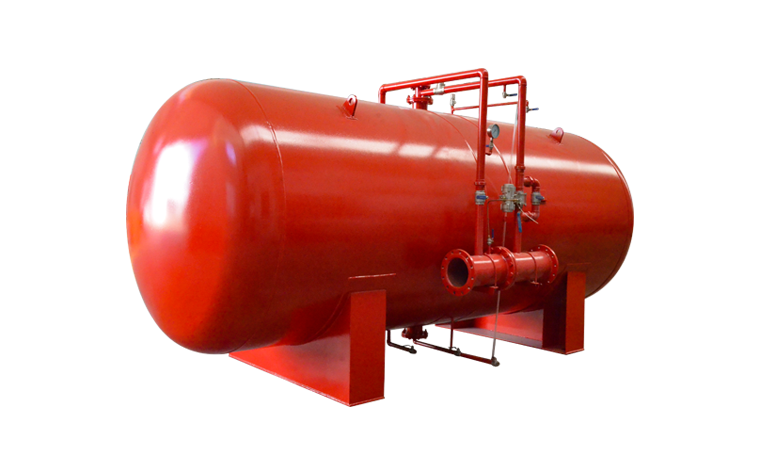
Dec 06, 2023Fire pump energy-saving operation principleThe energy-saving operation of a fire pump involves optimizing its performance to minimize energy consumption while still ensuring effective fire protection. Here are some key principles and strategies for energy-saving operation of fire pumps:
View details -
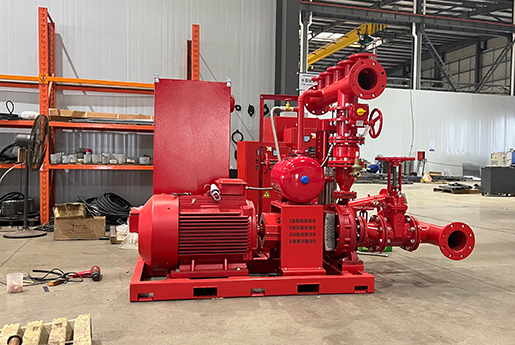 Dec 05, 2023What are the requirements for maintaining a centrifugal pump?Maintaining a centrifugal pump is essential to ensure its optimal performance and longevity. Here are some general requirements for maintaining a centrifugal pump:
View details -
 Dec 04, 2023What are the basic technical knowledge of fire pumps?Understanding the basic technical aspects of fire pumps is essential for those involved in the design, installation, operation, and maintenance of fire protection systems. Here are key technical aspects related to fire pumps:
View details -
 Dec 04, 2023What inspections are performed before starting the fire pump?Performing thorough inspections before starting a fire pump is crucial to ensure its proper functioning during emergencies. Here are the key inspections that are typically performed:
View details